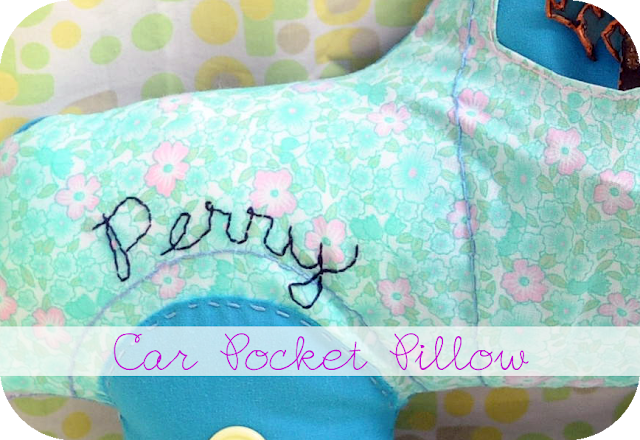
My baby boy turned 3 months old 9 days ago. I made him a pocket pillow in the shape of a car. This is pure hand-sewn because I do not own a sewing machine yet. The front wheel of the pillow is quite deformed maybe due to my sewing. Nevertheless, the pillow is still cute. =D So here is how I did it...
Materials:
...and fiber fill. I forgot to include it in the picture.
Procedure:
1. Draw and cut your pattern on a manila paper. Download pattern here.
2. Trace your pattern at the back side of your patterned cloth. ***If you are using the same cloth for the back of your pillow, make sure to invert your pattern before tracing it for the 2nd time. If you will use a solid color cloth, like I did, you can trace your pattern either way.
3. Provide a 1/2 inch allowance from the line of your pattern when cutting the cloth.
4. Cut the windows of the car pattern. These will serve as pocket openings.
5. Trace and cut these openings on your cloth for the front of the car.
6. Trace and cut the 'car doors' (red arrows) that will serve as your car pocket. Trace and cut the wheels too, so your wheels will have a different color than your car body.
7. (The picture shows pieces of 2 cars, except the back.) Now, you should have 5 pieces for 1 car. a. front of the pillow; b. front wheel; c. back wheel; d. pocket; e. back of the pillow.
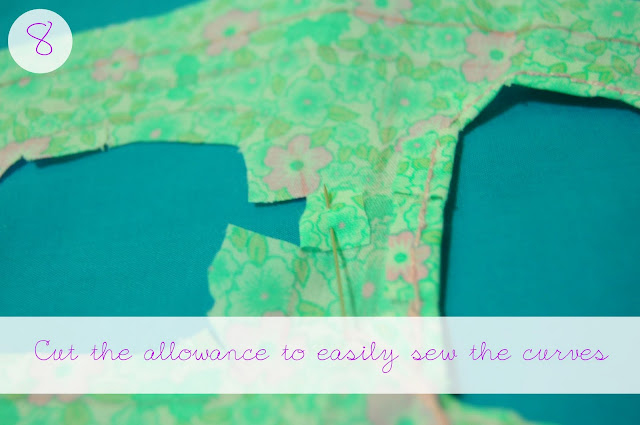
8. Start sewing your car windows. Cut the allowance to easily sew the curves.
9. Start sewing the pieces together. Start by connecting the wheels to the front body. The front wheel should be on the outside and only half of the back wheel should be showing.
10. Embroider the line separating the 2 doors on the front body.
11. Sew the pocket on the body. The stitches should look like an embroidered outline of the 2 doors.
12. Embroider your desired design on the front body.
13. Attach / Sew the front and back body of the car together inside out. Leave a small opening for you to insert the fiber fill. Invert the pillow case through the small opening.
14. Wash and iron the pillow case. (optional)
15. Fill the case with fiber fill.
16. Blanket stitch the opening.
And you're done! =D
Your child can hide toys in this pocket. Or you can hide surprises for your child here too.
Look at how happy my little baby is with his new pillow. =D
Happiness! =D


this is seriously adorable!! I love it, thanks for sharing it on my blog! :)
ReplyDelete-Katie
Thank you Katie! :D
ReplyDeleteso so cute!
ReplyDeletecute boy with a cute car pillow!
ReplyDeleteThank you Taylor and Jas for your lovely and encouraging words! :D
ReplyDelete